
How to Set Up an Oxygen Concentrator at Home

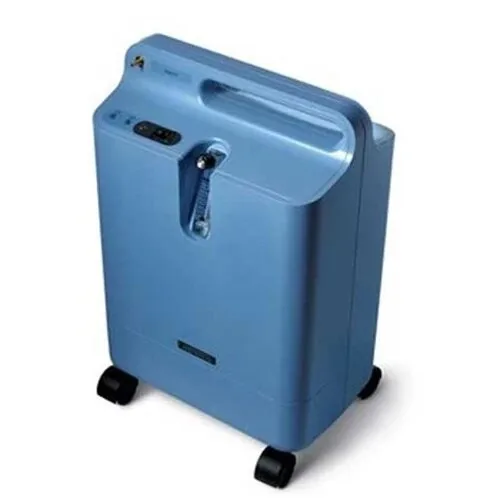
Setting up an oxygen concentrator at home can feel like a lot when you’re caring for someone just home from hospital. We’ll take it one step at a time, starting with the prescription and ending with cleaning and alarm checks. Keep the clinician’s instructions close by, and don’t change the oxygen setting on your own.
We analyzed 44 YouTube comments about oxygen Concentrator setup at home and found that 27% mentioned filter cleaning and water maintenance.
Table of Contents
Step 1: Confirm the Prescription and the Right Device
Before unpacking anything, make sure the equipment matches the treating clinician’s order. The written instructions should tell you when to use oxygen, which delivery mode is prescribed, and the flow setting. Ask the care team to explain any part that feels unclear.
Check whether the prescription calls for continuous flow or pulse-dose delivery . These modes work differently. A numbered pulse-dose setting is not the same as the same number of litres per minute on a continuous-flow machine. Don’t swap one for the other unless the treating clinician approves the change.
Then compare the device supplied with the written order. Check the model name and its user manual. Ask the equipment provider to confirm that the device supports the prescribed mode and flow, and to show you where the controls and alarms are. Oxygen therapy is a medical treatment, so the clinician sets the therapy and the equipment instructions guide its use. A peer-reviewed discussion of home oxygen therapy can provide wider background, but it doesn’t replace the patient’s own care plan.
Before delivery or setup, ask what comes with the machine. Confirm whether the package includes tubing, a nasal cannula or mask, and a humidifier bottle if one was prescribed. Ask who will show the caregiver how to operate the controls, what to do during a power cut, and how to get help if an alarm keeps sounding. Keep the written instructions with the discharge papers.
Think through the room, too. Where will the machine sit? Can the tubing reach the patient without crossing a busy walking path? Is there a suitable wall outlet nearby? These details help the provider check whether the planned setup fits the home.
If you’re arranging a rental, write down the agreed rental period and what equipment is included. Healthy Jeena Sikho provides medical equipment on rent and for purchase, with rentals across its North India service network. Its oxygen concentrator rental checks for families can help you prepare questions before delivery.
Key Takeaway:Match the machine and delivery mode to the clinician’s written order before you connect or switch on the unit.
Step 2: Unpack the Kit and Connect the Tubing
Lay out the supplied parts on a clean, dry surface. Check the user manual for the exact connection points, since the outlet design can vary by model. Don’t force a part that doesn’t fit.
With the unit switched off, connect one end of the oxygen tubing to the concentrator’s oxygen outlet. If the setup uses a swivel connector, attach it to the other end of the tubing. Then connect the cannula tubing to the connector. Some kits connect directly, without a swivel piece, so follow the diagram supplied with the unit.
Push each connection on firmly. Give the tubing a gentle tug to check that it stays in place. Look along its full length for twists, sharp bends, pinches or damage. A kink or loose join can interrupt the flow. Keep the tubing clear of chair legs and doorways, where someone could catch a foot on it.
Use only the tubing length approved for the device. Longer tubing can affect delivery, and the limit depends on the unit and its instructions. Don’t assume that a length supplied for another model is safe to use with this one. If you need the patient to move around the room, plan where the tubing will run before therapy begins.
If the clinician prescribed a humidifier bottle, check the bottle instructions before attaching it. Some models connect the bottle between the oxygen outlet and tubing. Use the water type and fill level in the unit’s instructions. If the patient wasn’t prescribed a bottle, don’t add one without checking with the care team.
Once connected, inspect the whole route from the machine to the patient. There should be no loose joins or trapped sections. A caregiver can follow the setup again in Healthy Jeena Sikho’s nasal cannula instructions , including how the prongs sit in the nostrils.
Step 3: Choose a Clear Location and Connect Power Safely
Place the concentrator on a firm, level surface in a well-aired part of the room. Leave at least 30 cm of clear space around the air vents where the model’s instructions allow or require it. Keep the machine away from curtains, bedding, clutter and anything that could block its air intake or outlet.
Pick a spot near a suitable wall socket, but keep the patient’s walking route in mind. Tubing and power cords shouldn’t cross a path where someone may trip. Avoid a tight cupboard or enclosed corner. The unit draws in room air, so it needs room for airflow.
Plug the machine directly into a grounded wall outlet. Don’t power it through an extension cord. Check the machine’s wattage label and the electrical instructions before using backup power. If your home needs an inverter during outages, ask the equipment provider or manufacturer to confirm what type and capacity the unit can use. The research guidance for these devices points to a pure-sine-wave inverter rather than a modified-sine type, but the exact unit’s instructions and a qualified technician should guide your choice.
A grounded three-pin outlet is part of the recommended setup. If the socket is loose, damaged or ungrounded, don’t adapt it yourself. Ask a qualified electrician to check it before the patient depends on the machine. Also avoid sharing the outlet with a major appliance if it causes the concentrator’s circuit breaker to trip.
Think about the room’s airflow. A window or cross-ventilation can help keep the area from feeling stuffy, but don’t put the machine where rain, dampness or dust can reach it. Some concentrators make a steady compressor sound. If the sound disturbs sleep, move the unit farther from the bed while keeping it within the tubing limit and maintaining clear airflow.
Before the first use, check that the outlet, power cord and planned tubing route are all safe. If the unit’s plug or cord looks damaged, don’t switch it on.
Step 4: Start the Unit and Follow the Prescribed Flow
Start the machine as its manual directs. A brief alarm or a light during startup may be part of the unit’s normal startup sequence, but the exact signals vary. Read the model’s instructions so you know which signs are expected and which need action.
Find the flow control and flow meter. If the meter uses a floating ball, read it at eye level and set it to the clinician’s prescribed mark. Follow the device’s instructions for aligning the indicator. Don’t choose a setting based on another patient’s machine or a number seen online.
Never increase or lower the prescribed flow because the patient seems more breathless or because an oximeter reading looks different. Contact the treating clinician for instructions. A pulse oximeter can be used only as the clinician advises, and its reading doesn’t give permission to alter the flow on your own.
Allow the unit to run for the startup period stated in its manual. Then check the indicator lights and listen for alarms. Attach the cannula or mask as instructed once the unit is ready. Make sure the cannula prongs face the right way and sit comfortably, without pulling hard on the tubing.
If the setup includes a humidifier bottle, check for the signs described in the manual, such as bubbles if the model’s bottle is designed to bubble. If you see a leak, hear unusual hissing or notice that the bottle connection is loose, switch the unit off before checking the connection. Don’t keep using a damaged bottle or tubing.
Keep the written prescription beside the machine. The person who sets it up should show another caregiver the control and the prescribed mark. That small handoff can prevent guesswork during a busy night or a change of shift.
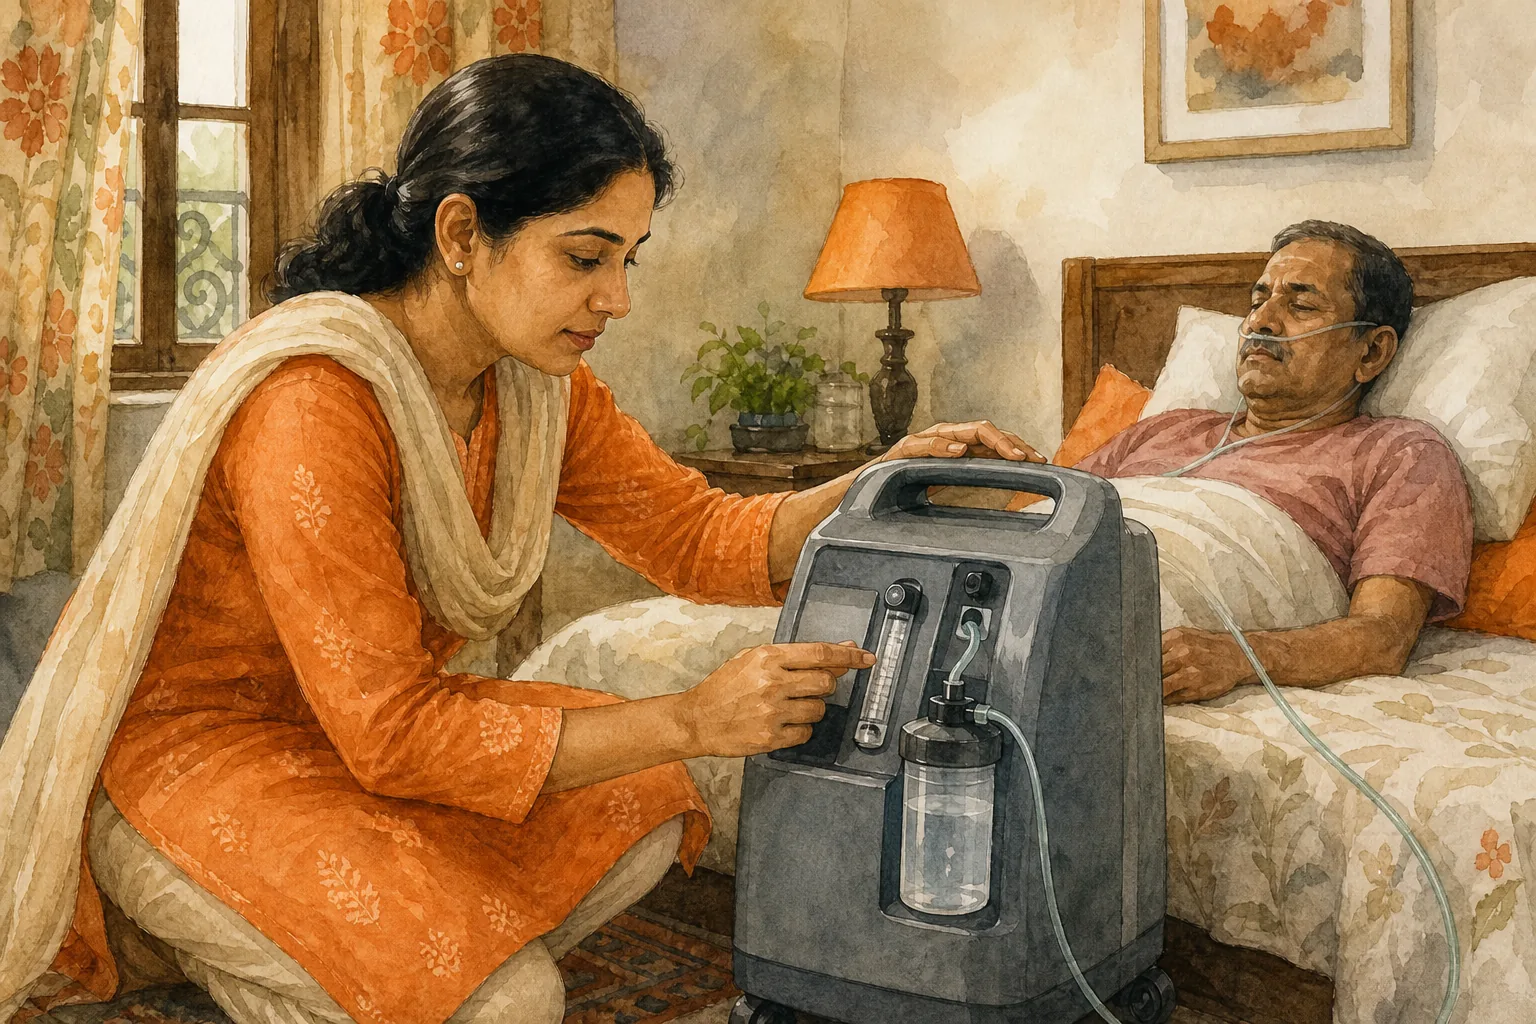
Pro Tip:Ask the person showing you the machine to demonstrate startup, the normal indicator signals and the shutdown process. Then have another caregiver repeat the steps back.
Step 5: Make the Area Fire-Safe and Know What to Do if an Alarm Sounds
Oxygen can make a fire burn faster, even though oxygen itself isn’t a fuel. Keep smoking, open flames and sparks away from the patient and equipment. Keep flammable items at least 3 m away from the oxygen setup, and don’t use candles, incense or a gas flame near the concentrator.
Make the rule clear to everyone in the home, including visitors and caregivers. A simple notice on the outside of the room or at the entrance can alert guests that oxygen is in use. Keep the machine away from kitchen heat, oil, aerosol sprays and flammable cleaning products. Don’t use petroleum-based products on the patient’s lips or face; ask the clinician or pharmacist what is suitable.
Know what each alarm and light means for this model. Some units signal a loss of power, a flow problem or a device fault in different ways. The exact color and sound pattern can differ, so use the machine’s manual rather than assuming one model’s signals match another’s. Keep the concentrator user manual’s safety and alarm guidance close by when you learn the controls.
If an alarm sounds, first check whether the unit has lost power. Look at the wall plug and the home’s power supply. If the machine has a reset or circuit-breaker button, use it only as directed in its manual. Check that the vents are clear and the tubing isn’t kinked or disconnected. Don’t open the case or try to repair internal parts.
If the alarm continues, a warning light remains on, or the machine stops delivering oxygen, follow the clinician’s backup plan and contact the equipment provider or care team. Don’t silence an alarm and leave the patient relying on a unit that may not be working.
Ask the treating team and supplier about backup oxygen before you need it. A non-electric cylinder may be part of the plan for a power cut, but the clinician must advise when and how it should be used. Have the supplier explain safe storage and operation. Keep the agreed steps where caregivers can find them.
Step 6: Clean the Cannula, Humidifier Bottle and Filters
Use the cleaning schedule in the exact model’s manual. Parts don’t all share the same care routine. Some filters can be washed; others need replacement. A wet filter or moisture inside the machine can cause problems, so don’t reinstall a filter until it is fully dry.
For a washable filter, switch off the unit and remove the filter as the manual shows. Wash it only with the method the maker permits. Let it air-dry completely before putting it back. Don’t run the machine without the required filter, and don’t pour water over the concentrator itself.
Clean the cannula or mask on the schedule given by the clinician or manual. Use the approved cleaning method and let it dry fully before use. Replace it if it becomes damaged, stiff or difficult to clean. Keep water out of the oxygen tubing unless the manual specifically says otherwise.
If the clinician prescribed a humidifier bottle, use the cleaning steps for that bottle. Empty and wash it at the stated intervals, rinse it well, and dry it before filling it again. Don’t add vinegar or another disinfectant unless the model’s instructions say it is safe. Use the water type specified in the instructions, often distilled water.
Healthy Jeena Sikho has a separate guide to humidifier use with an oxygen concentrator , including points to check before adding a bottle. Follow the patient’s prescription and the device manual if their instructions differ from general advice.
Keep a simple care note near the machine. Record when the filter was cleaned and when a cannula or bottle was checked. If the airflow seems weak, first look for a kink, a loose connection or a blocked cannula. If the problem remains, stop troubleshooting and ask the equipment provider for help.
We recommend treating the manual as the schedule, not a guess based on how dusty the filter looks. If you’re unsure whether a part is washable or due for replacement, check before cleaning it.
Frequently Asked Questions
How much space should I leave around an oxygen concentrator?
Leave at least 30 cm of clear space around the concentrator’s vents where the model’s instructions allow or require it. Keep it away from curtains, bedding and clutter that could block airflow. The manual for the exact device takes priority, since vent locations and spacing guidance can differ by model.
Can I use an extension cord with an oxygen concentrator?
No, connect the concentrator directly to a suitable grounded wall outlet. Extension cords can create a power or safety risk, and they may not suit the device’s electrical needs. If the outlet is too far away, ask a qualified electrician or the equipment provider about a safe solution rather than running a cord across the room.
Can I change the oxygen flow if the patient seems breathless?
No, don’t change the flow unless the treating clinician directs you to do so. Breathlessness or a different pulse oximeter reading needs clinical advice, not a guessed setting. Keep the written prescription near the machine and ask the care team what signs should prompt a follow-up or urgent help.
What should I do if the concentrator alarm keeps sounding?
Check the power connection, airflow around the unit and tubing for a kink or loose join. Use the manual to interpret the alarm and operate any reset control. If the alarm continues or the machine stops working, follow the clinician’s backup plan and contact the equipment provider or care team. Don’t open the machine.
How often should I clean the concentrator filter?
Clean or replace the filter on the schedule in the exact model’s manual. Some filters are washable, while others aren’t. If the manual says to wash it, let it dry fully before reinstalling. Don’t use the concentrator with a wet or missing filter, and ask the provider if you’re unsure which filter your unit has.
Conclusion
Set up the machine only after you’ve matched it to the prescription, checked the power and cleared space around its vents. Keep the manual and backup plan nearby, and ask the equipment provider to show each caregiver the alarms and controls. If you’re arranging a rental, review Healthy Jeena Sikho’s oxygen machine rental information and confirm the equipment details before delivery.


Comments